
Modern websites are not simple tools for providing information. They are valuable marketing accessories that help in promoting a business. Every website is created with one or more specific goals in mind. For instance, an e-commerce portal would like to clock more sales. On the other hand, a blogger would want more and more people to join her subscription list. An important element that plays a key role in encouraging visitors to move along the path is a call to action. This item appears in the form of a dedicated button or a sign-up form or even a line of compelling text. In this article, we will show how you can add call to action to WordPress websites. This will help you in effectively communicating to visitors what action do you want them to take on your website.
There are various ways to integrate a CTA in an interface. In this guide, we will go through three of the simple ones.
1. Creating A Call-To-Action Button
We will begin by discussing the method to create a dedicated call to action button. This is arguably the most common CTA that most people would have come across at one time or another. Take a look at the upper right corner in the image given below.

A button with the “Request a Quote” message is displayed. Clicking it will take a visitor to the page where an inquiry form is displayed. You must first decide where you want to display the button. We will now use the following procedure to create the CTA.
i. Install A Suitable Plugin
Seasoned WordPress users know that most features can be easily added to an interface by using a suitable plugin. A lot of users convert site to WordPress only to access its extensive plugins collection. We will also use a plugin for creating the CTA button. The tool chosen for the purpose is called WordPress Button Plugin MaxButtons. This 5-star rated product has seen over 100,000 active installations. Go to the admin dashboard of your website. In the menu, click on the Plugins option and then choose Add new. You will see a search box on the screen which opens now. Enter the tool’s name in the box and then download the correct option. Activate the plugin and move to the next step.
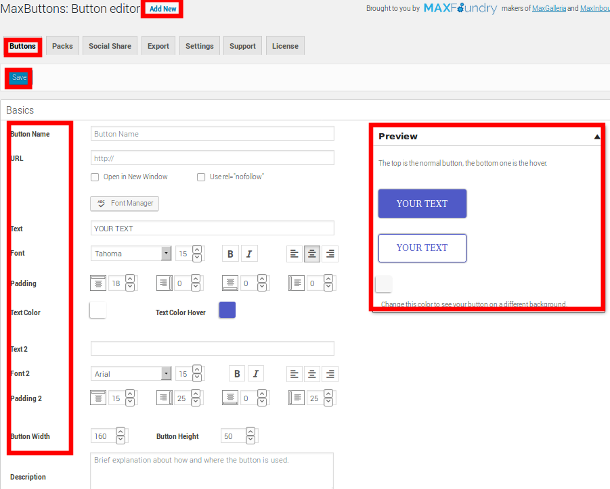
ii. Create The CTA Button
Once you activate the open source plugin, a new option called MaxButtons will become visible in your control panel. Click on it and then select the Add New Button option. This will open a new screen with numerous CSS styling options. You can customize the settings to choose the color and dimensions of the button. You can also define the settings for text color and size. Enter the page’s link in the URL section, where the tab will be displayed. In the Name field, enter the text you want to display on the button. Users will be able to see a preview of their design in the box on the right-hand side. Save all your changes to create your CTA.
A shortcode similar to the following code will be generated after the creation of the tab:
[maxbutton id=”1″]
You can use it to add the button to the desired location on your interface.
2. Creating A Pop-up
We will now add call to action to WordPress by using a pop-up. The following image shows an exit intent pop-up which appears when a visitors tries to leave a page.

Decide when and where you want your pop-up to appear and then use the following procedure.
i. Install The Popup Maker Plugin
The plugin we have chosen for creating our CTA pop-up is called Popup Maker – Popup Forms, Optins & More. Just like in the previous process, access the Plugins > Add New section and search for the tool. Use the image given below to locate the correct solution.
Once you locate the correct option, hit the Download button to install it on your website. Then activate it and move ahead.

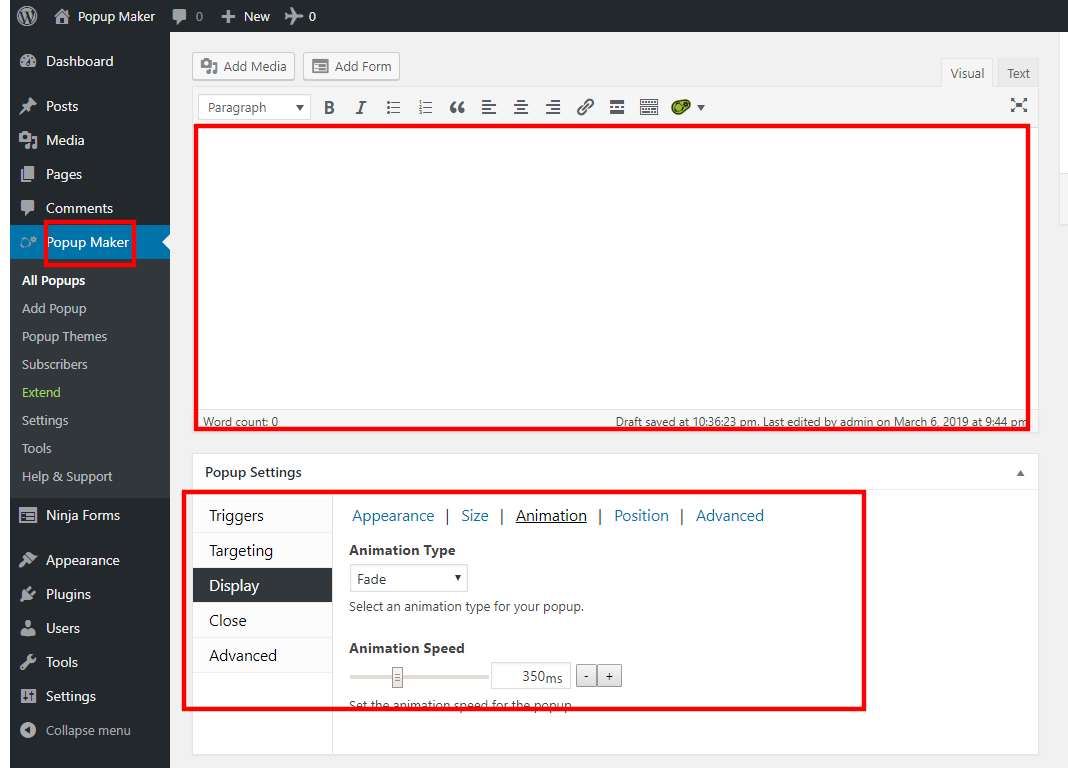
ii. Create The Pop-up CTA
After you have activated the tool, it will become a part of your dashboard menu. A new option called Popup Maker will be added to the menu. Click on it and then go to Add Popup. Enter a title for your CTA in the specified field. Then provide the content to be displayed on the pop-up in the text field. Scroll down to define the actions that will trigger the CTA. You can also configure the display settings. Once you are done, hit the Publish button and the pop-up will start displaying.
3. Creating A Sign-up Form
Many website owners want visitors to become members or subscribe to their e-mail newsletters. Such users can add a sign-up form to encourage visitors to take the necessary action.
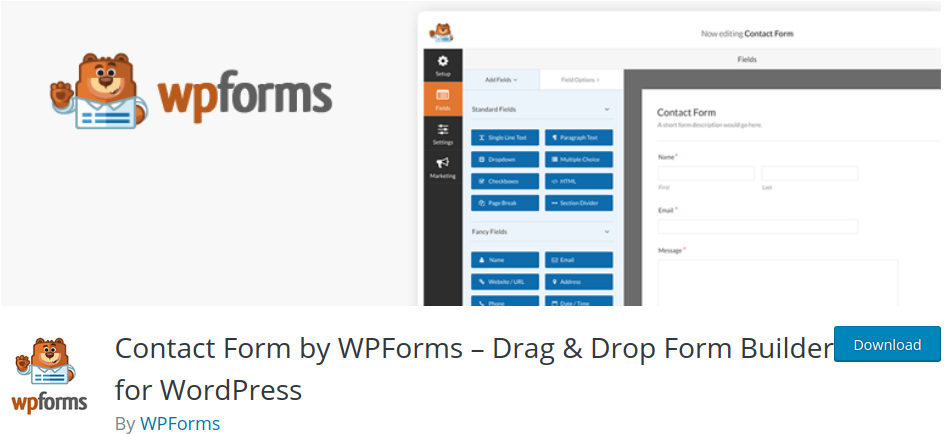
i. Install A Form Builder Plugin
There are numerous form builder tools and we are using Contact Form by WPForms. Use the given image as a reference to download and activate the correct tool.
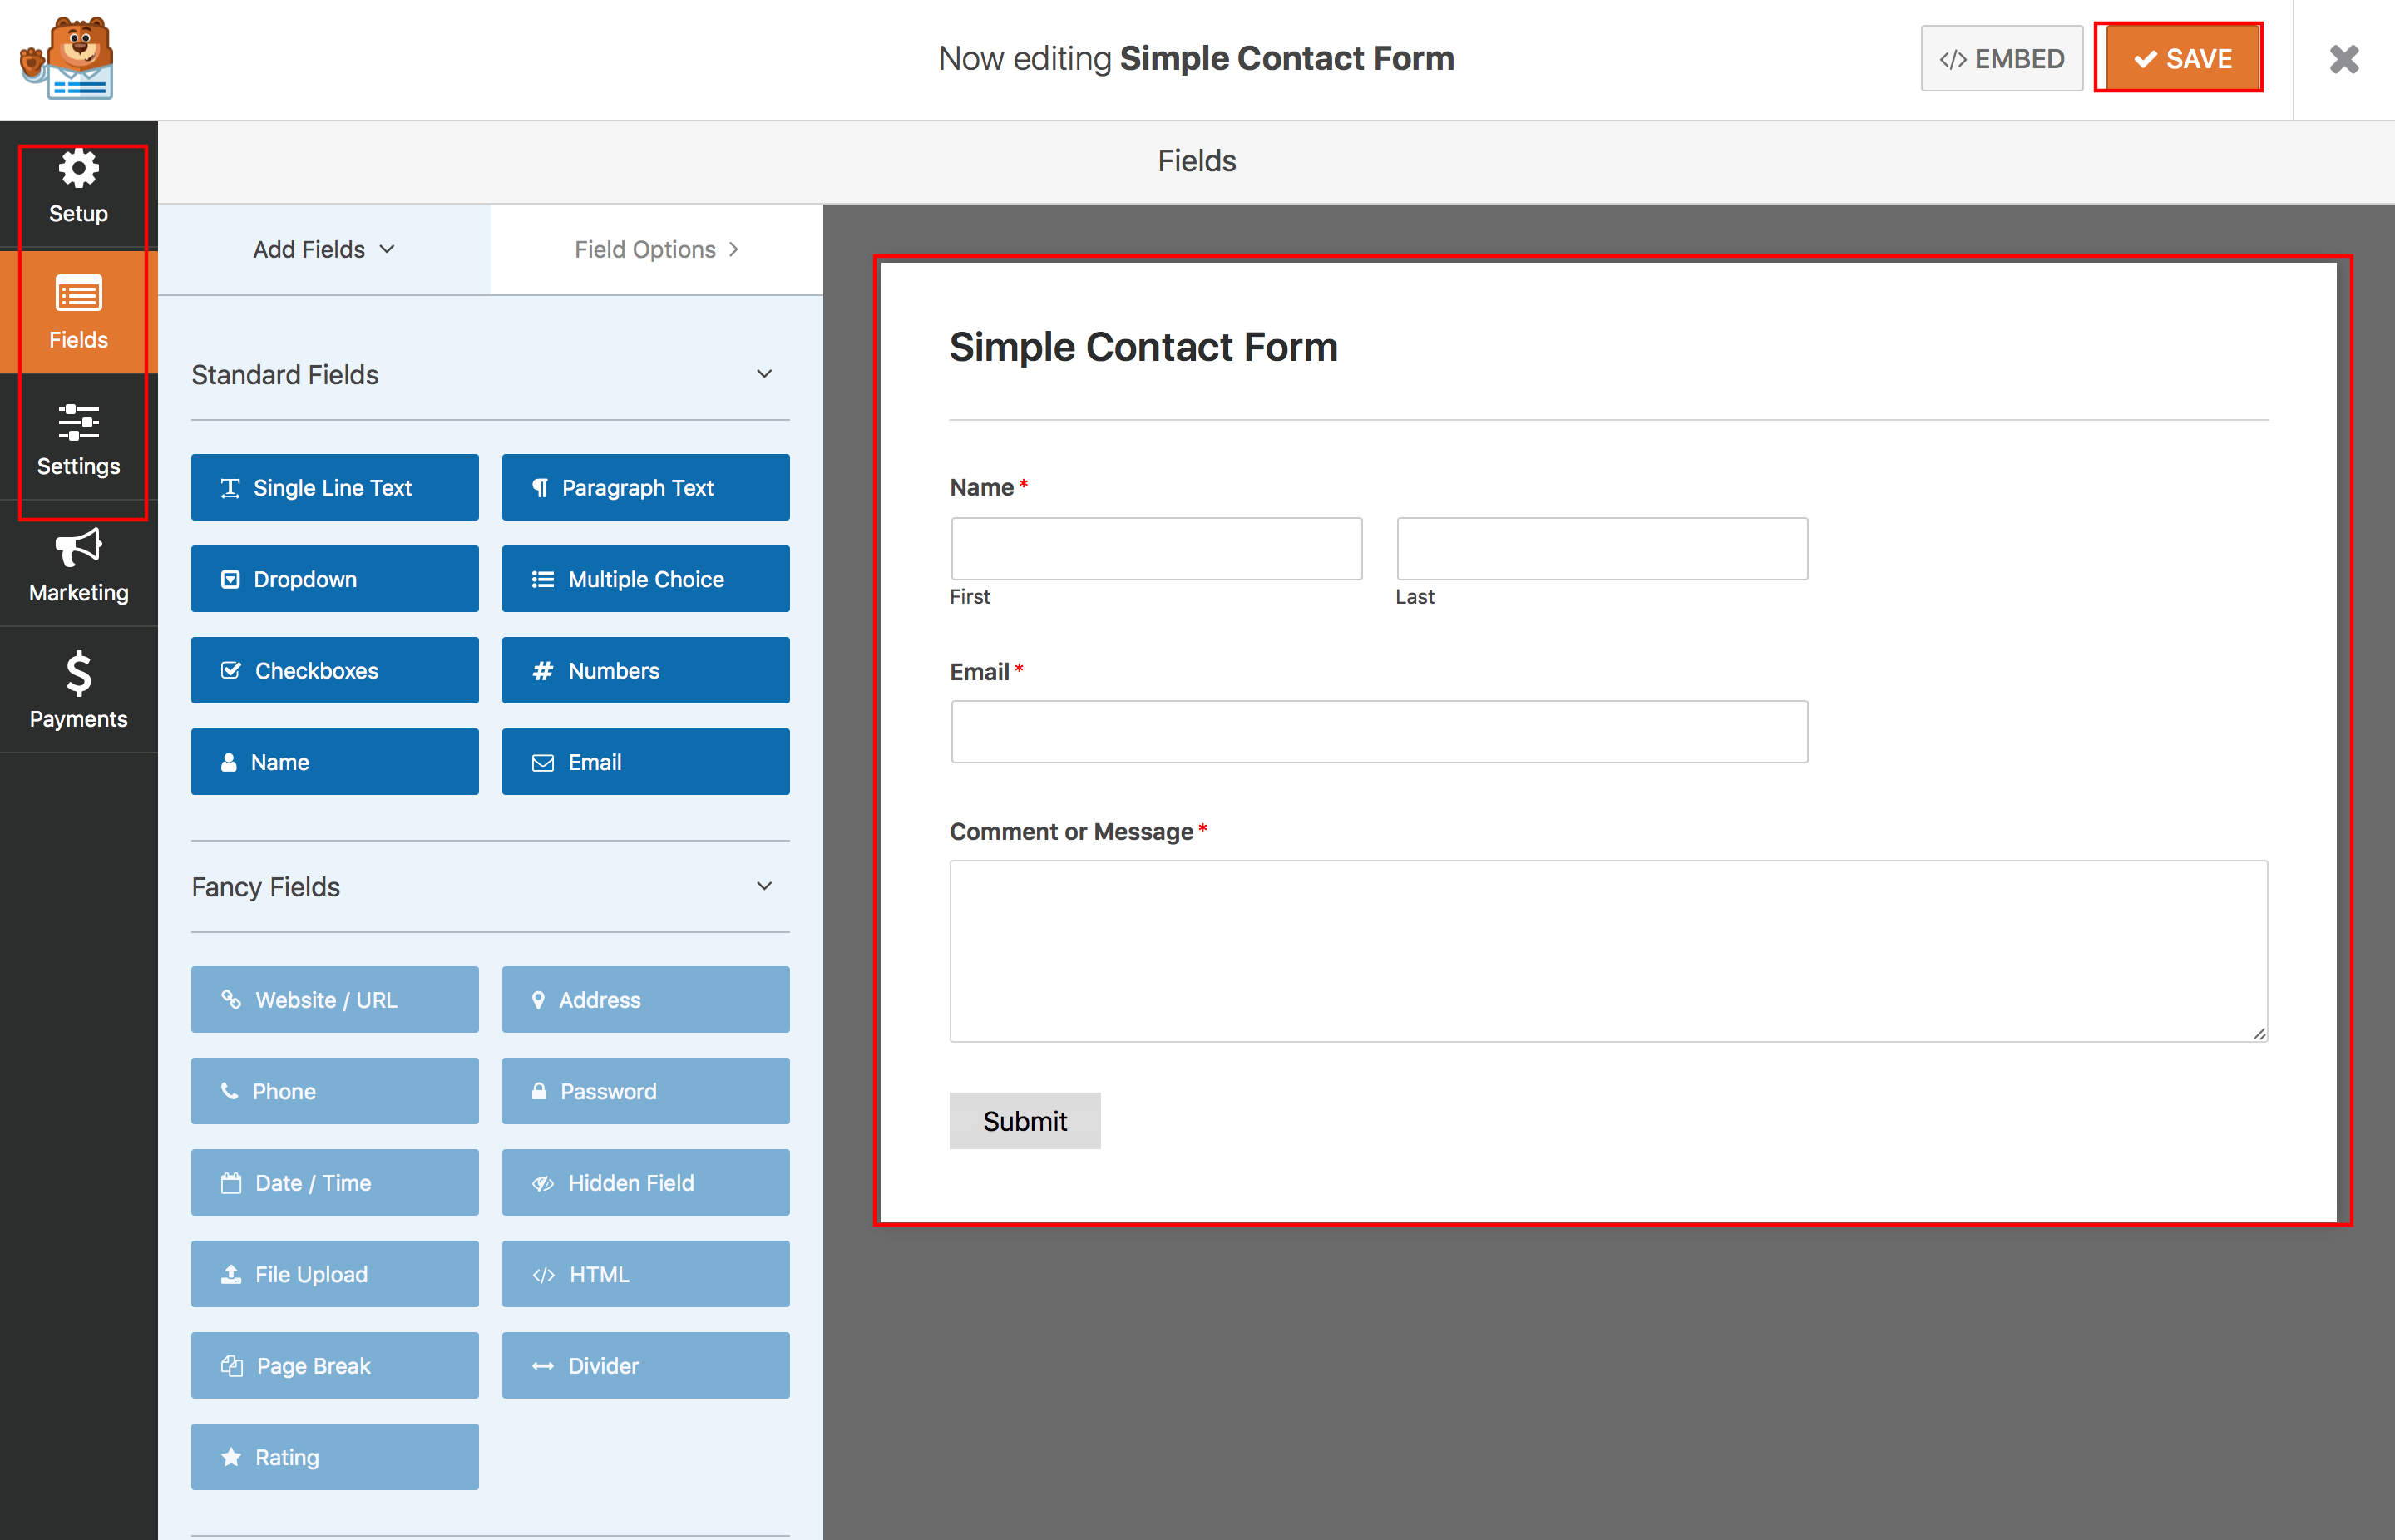
ii. Customize And Publish The Form
Select the WPForms option in the menu to start creating your form. You can choose pre-built templates and drag and drop fields to your layout. Select the Settings tab and add title, description, and the submit button text. You can also configure the notification settings. Save and preview your changes. You can add the form through a widget or a shortcode to your interface.
Conclusion
These are some simple ways to include a CTA to your website. People who still feel that they cannot do the task themselves must hire professional WordPress development services for the purpose.