Changing the DNS server settings in your own router isn’t that difficult, however every manufacturer uses their own custom port, which means that the process can be quite different depending on the router you have.
Here you will find the exact steps needed to change the DNS servers in your own make of router. We only have probably the most widely used router brands listed right now, however you can get the list to be expanding so on.
Watch our Public DNS Servers List when you haven’t already settled in a different DNS server provider, some one of that could perform far better than the ones assigned from your own ISP.
Changing the DNS servers onto your own router, instead of your unique devices, is almost always a better idea however, you might desire to observe our information about just how to change DNS server setting onto a router versus a PCat a better understanding of why that’s.
1. Linksys

Change the DNS servers onto your Linksys router from the Setup menu:
- Subscribe into a Linksys router’s on-line administration, usually http://192.168.1.1.
- Harness or Harness Setup from the menu.
- Harness or click Basic Setup from the Setup Sub Menu.
- From the Static DNS 1 field, enter the main DNS server you may love to make use of.
- From the Static DNS two field, enter the secondary DNS server you may love to make use of.
- The Static DNS 3 field can be left blank, or you can incorporate a key DNS server from another provider.
- Harness or click on the Save Settings button at the bottom of the display.
- Harness or click on the Carry on button onto another display.
- Most Linksys routers don’t require a restart to all these DNS server changes to take effect, but you should be sure to achieve this in case the router admin page requests you to.
Watch our Linksys default password list in case 192.168.1.1 doesn’t get the job done with you. Not many Linksys routers may make use of this address.
Linksys makes minor changes with their administration page every time that they publish a fresh collection of routers, thus when the procedure above did not work with you exactly, the instructions that you need will likely be on your manual. Watch our Linksys support profile to get links to downloadable guides for the specific router.
2. NETGEAR
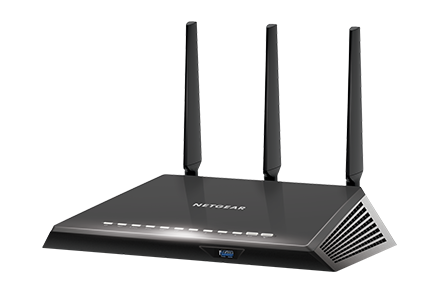
Change the DNS servers onto your own NETGEAR router from the Basic Settings or even Internet menu, depending on your model:
Register to a NETGEAR router manager page, most commonly via http://192.168.1.1 or even http://192.168.0.1.
NETGEAR includes two big ports using different methods of accomplishing the subsequent step:
- for those who have a BASIC along with ADVANCED tab along the top, choose the Fundamental followed with your Internet option (on the left).
- In the event you don’t have those 2 tabs along the top, choose Fundamental Settings.
- Choose the Use These DNS Servers option under the Domain Name Server (DNS) Address section.
- From the Primary DNS field, enter the main DNS server you want to utilize.
- From the Secondary DNS field, utilize the secondary DNS server you want to utilize.
- In case your NETGEAR router provides you a Third party DNS field, you can leave it blank or choose a main DNS server from another provider.
- Harness or click Employ to conserve DNS server changes that you entered.
- Follow some additional prompts about restarting your router. In the event you don’t get some, your changes should now be live.
NETGEAR routers have already used quite a few different default gateway addresses over time, therefore in case 192.168.0.1 or even 192.168.1.1 did not do the job with you, find your model within my own NETGEAR Default Password List.
As the process outlined above should utilize most NETGEAR routers, there may become described as a model or two which make use of a different procedure. Watch our NETGEAR Support page to get help digging the PDF manual for the specific model, that’ll have the exact instructions that you need.
3. D-Link

Change the DNS servers onto your own D Link router from the Setup menu:
- Subscribe into a d link router utilizing http://192.168.0.1.
- Choose the Internet option on the left side of the page.
- Choose the Setup menu from the top of the page.
- Find the Dynamic IP (DHCP) Internet Connection Type section and use this Primary DNS Address field to enter the main DNS server that you wish to utilize.
- Utilize the Secondary DNS Address field to type from the secondary DNS server that you wish to utilize.
- Choose the Save Settings button at the Peak of the page.
- The DNS server settings should have changed immediately nevertheless, you might be told to reboot the router to finish the changes.
While most d link routers can be accessed via 192.168.0.1, some of these models utilize a different one by default. If this address did not work with you, visit our d link Default Password List to find your specific model’s default internet protocol address (as well as also the default password for logging on, even for those who need it).
In the event the process above did not appear to employ for youpersonally, visit our d link Support page for information on finding the item manual for the specific d link router.
4. Asus

Change the DNS servers in your own ASUS router through the LAN menu:
- Subscribe into a ASUS router’s admin page for this address: http://192.168.1.1.
- From your menu on the left, tap or click WAN.
- Choose the Internet Connection tab at the Peak of the pageto the right.
- Under the WAN DNS Setting section, enter the main DNS server that you need to work with into the DNS Server1 text box.
- Enter the secondary DNS server that you would like to utilize from the DNS Server2 text box.
- Save changes together with all the Employ button at the bottom of the page.
- You may need to restart the router after using the changes.
Now you should really be able to access the configuration page for most a sus routers with an 192.168.1.1 address. When you’ve never changed your sign-on information, consider using admin for both username and your password.
Alas the software on every a sus router isn’t exactly the same. In the event that you fail to get into your router’s configuration page with all the steps explained above, you can dig your router’s manual on the a sus support internet site , that’ll have specific instructions for you personally.
5. Tp-Link
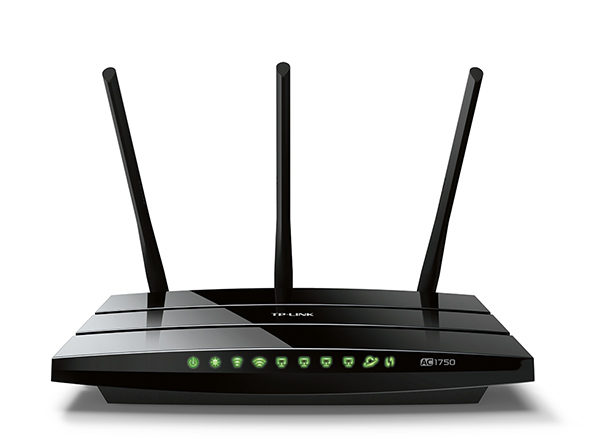
Change the DNS servers onto your own Tp Link router through the DHCP menu:
- Subscribe into a tp link router’s configuration page, usually via the http://192.168.1.1 address, however sometimes via http://192.168.0.1.
- Choose the DHCP option from the menu to your leftside.
- Harness or click on the DHCP Sub Menu option called DHCP Settings.
- Utilize the Main DNS field to enter the main DNS server you may love to make use of.
- Utilize the Secondary DNS field to enter the secondary DNS server you want to utilize.
- Choose the Save button at the bottom of the page to store the changes.
- You likely don’t have to restart your router to automatically apply those DNS settings, however some tp link routers may require it.
One particular two IP addresses above, in addition to the tutorial outlined, should do the job with most tp link routers. If not, perform an internet search for the tp link model at tp link’s support page. On your router’s manual is going to soon be the default internet protocol address you should utilize to connect, in addition to details on the DNS-change procedure.
6. Cisco
![]()
Change the DNS servers on your Cisco router from the LAN Setup menu:
- Subscribe into a Cisco router from either http://192.168.1.1 or even http://192.168.1.254, depending upon your router model.
- Tap or click on the Setup option from the menu in the very top of the page.
- Choose the Lan Setup tab from the menu that is only below the Setup option.
- From the LAN inch Static DNS inch field, enter the primary DNS server you may love to make use of.
- From the LAN inch Static DNS two field, utilize the secondary DNS server you may love to make use of.
- Some Cisco routers may have a LAN inch Static DNS 3field, that you can leave blank, or enter still another DNS server.
- Save changes utilizing the Save Settings button at the bottom of the page.
- Some Cisco routers are going to have you restart the router to automatically use the changes. If not, all of the changes will be applied right after choosing Save Settings.
Having difficulty with the guidelines? Visit our Cisco Support page to get help finding the manual which belongs along with your exact Cisco router model. Some models require slightly different steps to reach the DNS server settings however, your manual is going to likely be 100% appropriate to the model.
In the event that you fail to even open your Cisco router’s configuration page with one of those addresses from above, make sure to look through our Cisco default password list to your default IP address, in addition to additional default login statistics, for the specific Cisco router.
These steps will probably be different for the router for those who have a co-branded cisco linksys router. If your router gets got the term Linksys onto it follow the steps at the top of the page to changing the DNS servers onto a Linksys router.